
It does not matter whether you are renovating your house or whether light fixtures have gone bad, there is no reason for you to call your electrician. Replacing your light fixtures is one of the easiest things you will do and definitely something you don’t need a hand with. If you need to replace your ceiling lighting fixture, here are few tips that will come handy.
Tools that you will need for replacing a ceiling lighting fixture
- A screwdriver
- A ladder/ chair/ stepstool
- Electrical tester
- Safety glasses
Steps/Procedure for replacing a ceiling lighting fixture
Turn off the electricity
The first thing you need to do is switch off electricity at the source. Go to the electrical panel of your house and turn the electricity off the particular room you are working in. To figure this out, keep the lights turned on in the room and flip switches to see which switch is connected to the room.
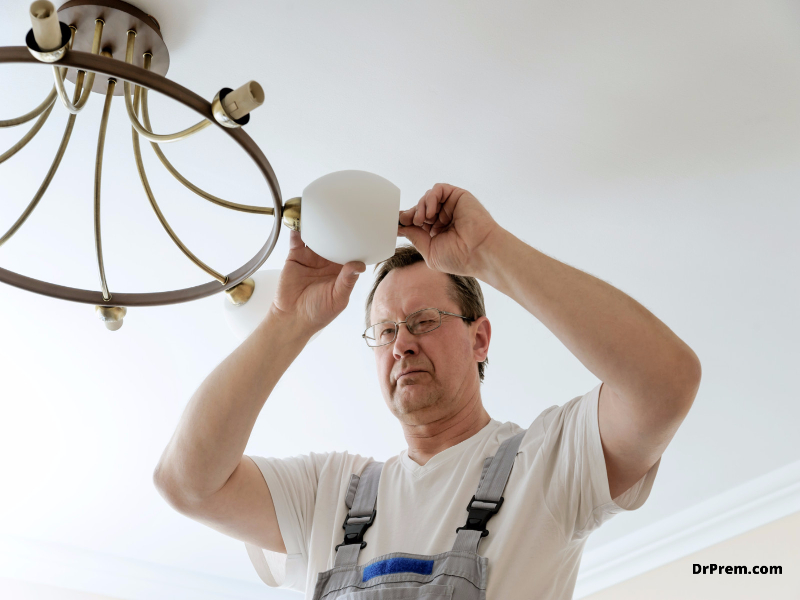
Remove the canopy or glass parts
Next, let the bulb cool down if it was switched on before touching it. Then slowly remove the bulb and start removing the clip on canopy or glass parts if there are any to reveal the screws.
Once you remove the canopy, it will expose the wires and other hardware of the fixture. Depending on the type fixture you are using, you will need to handle it accordingly and unscrew different parts till the inner hardware and wires are exposed to you.
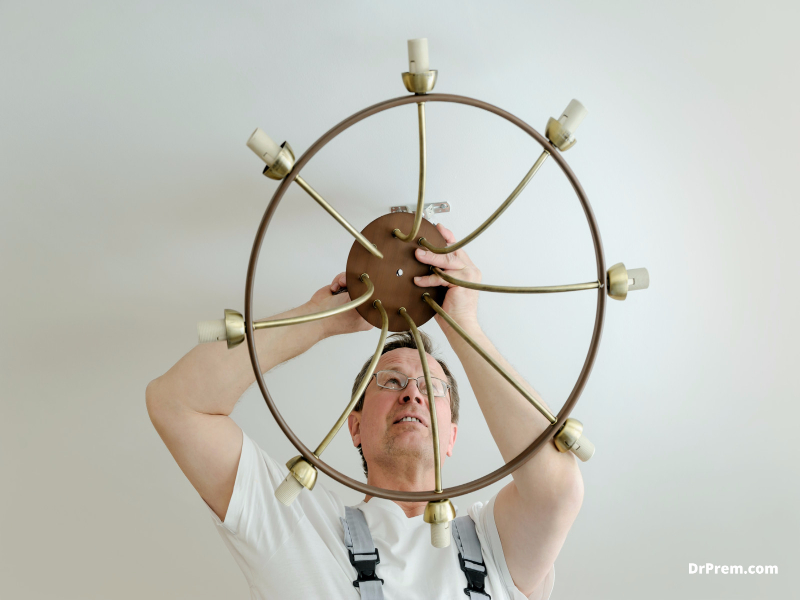
Remove the old fixture
You will notice that there are three colored wires that are holding the old fixture – black, green, white/copper. You need to disconnect them with the wires of your old fixture. If they are connected to a wire connector or anything else, slowly unscrew it to separate the ceiling wires from fixture wires.
Now, slowly remove the fixture completely from the ceiling wires and if there is any part of the old fixture still attached, remove it as well using your screwdriver.
After you have removed the old fixture, make sure that you pack it securely and keep its pieces together. You will not have any troubles cleaning up later if you do it now itself. Also, some of its pieces could still be fine and may be used later, for that purpose, pack it
Unpack your new fixture
Next, you need to take out your new fixture and unpack it carefully. There will be many small but important parts will come pouring out of it. Carefully place aside the screws, glass pieces, fittings, and the base so that you don’t lose any vital pieces.
Read the manual
There are many different kinds of fixtures and each one needs to be handled differently. Before you start with installing the new fixture, take out the manual and read it so that you understand how to install it properly. It will guide you about its each part.
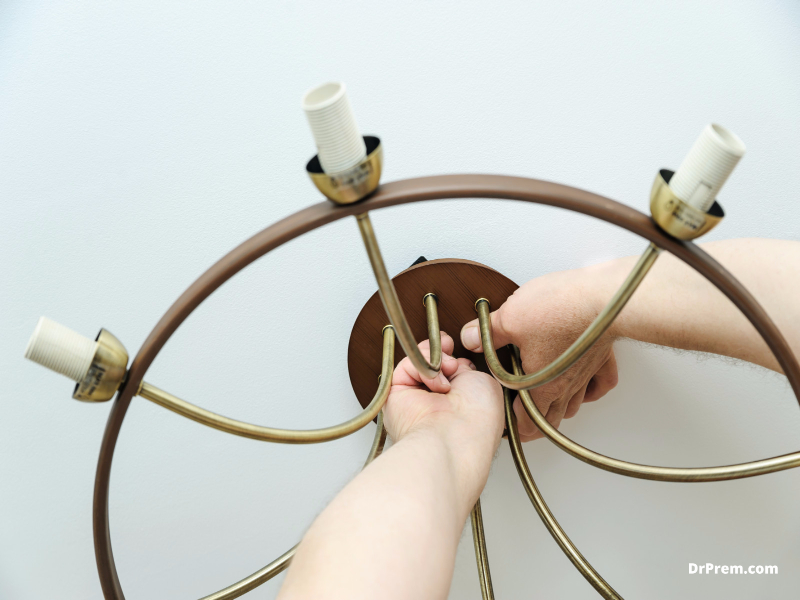
Fix the mounting bracket
If your new fixture came with a mounting bracket use it, or you could use your old bracket if it is still in good condition. Next, place it carefully and align the holes in it with the bolt holes in the ceiling. Use your screwdriver to put the bolts to secure the mounting bracket in place.
Connect the wires
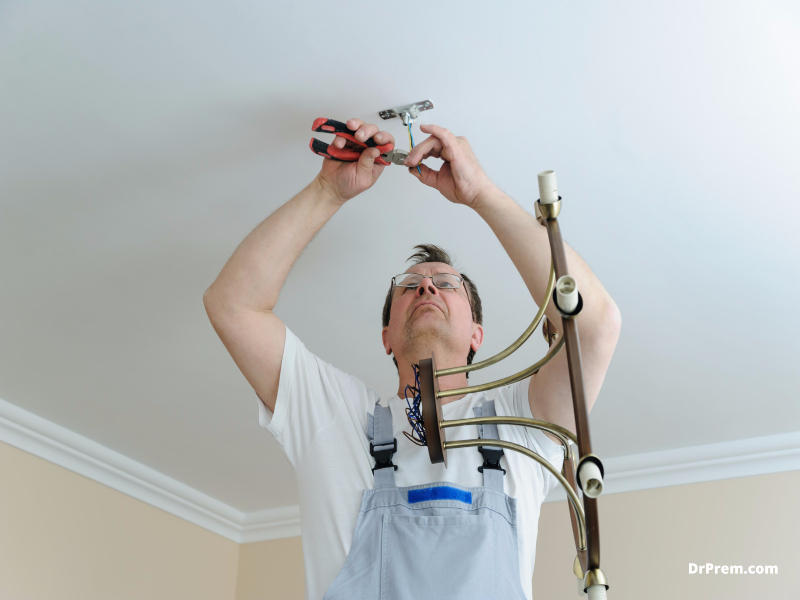
After you have unpacked and placed the mounting bracket, pick up the new fixture and observe the wires.
Each wire will have a specific color so make sure to attach the same colors on both ends. Twist the bare ends of the wires from your ceiling and the fixtures together. Now, you will need to secure the connection for which you can use wire nuts or wire connectors to connect the wires.
How to connect the wires while replacing a ceiling lighting fixture?
Before you start connecting the wires, you need to see whether the wires are still in good condition. It is advisable to replace the old wires with a new set; this is because, the old wires can cause problems in the future. In that case, you need to melt the plastic off the wires and expose the copper part. Use candles to melt the plastic and pull it.
Now, twist the exposed parts of the two sets of wire and twist them together.
Check whether you have done it right
After you have connected the wires, you need to check if you have done the right job. Put the bulb in the bulb holder and turn the switch on. If the bulb turns on, it is done correctly.
Screw the fixture
Now you can go ahead and secure the fixture. If you are using a new kind of fixture, go as per the instruction manual. Put the canopy and the mounting hardware of the fixture. Make sure to bold the screws properly and tightly; after that, you can also make adjustments to the height if there is a provision to do so.