

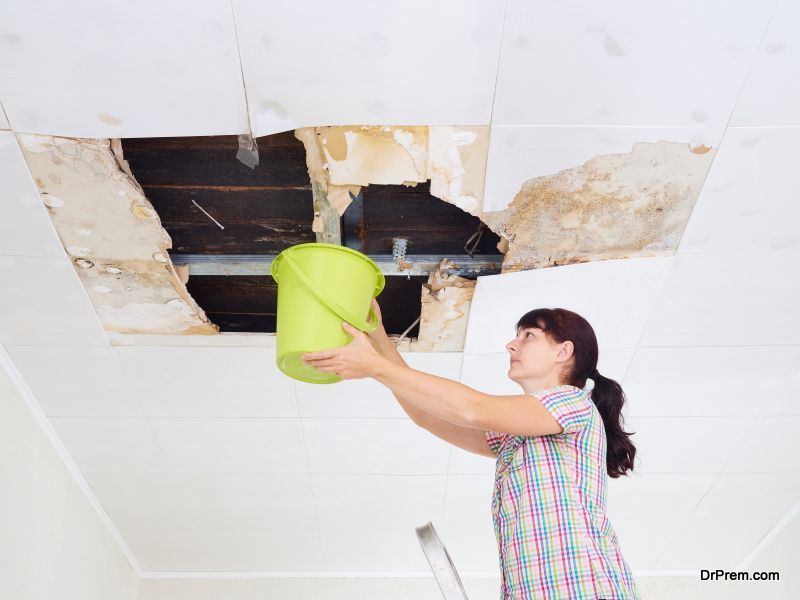
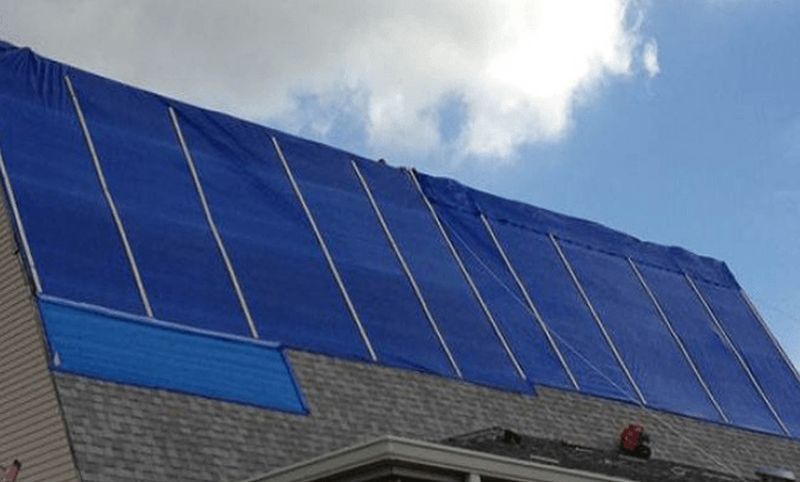
It is recommended homeowners check their homes for potential signs of water damage. If homeowners detect damage, they are advised to contact a reliable Atlanta roofing contractor, such as Team Roofing. However, in instances where your roof is already badly damaged, and you need a quick fix to stop the water from dripping inside, you should consider putting a blue tarp up to fix your leaking roof. If you install it properly, it will get your home back to normal quickly, reduce the insurance costs and prevent any more water getting inside your home.
Here’s how you can attach a blue tarp to your roof to protect your home:
Buy or rent the tarp
After locating the damaged section of your roof, you can attach the tarp. You can contact a best hire company to rent out a tarp, instead of buying the tarp, which is only a temporary repair. You can have one that you can return once you get the permanent repairs done. This makes more sense than investing in a blue tarp, which you will not use frequently. The blue tarp you rent should be as thick as possible, with UV inhibitors, as it will protect your roof better.
How to attach the blue tarp to the roof
- First, locate the leak.
- Spread the tarp on the roof covering the leak.
- Measure the tarp’s width and then add an extra 2ft to the width.
- Cut four pieces of 2×4 boards with the help of a handsaw, which matches the tarp’s width you measured.
- Then, unrolling the tarp carefully, you have to pull the tarp’s free end on top of the leak, until it extends over the roof’s peak and approximately 4 ft down to the other portion of your roof.
- Cut the extra tarp with your utility knife, until its level with the roof’s eaves. Then you have to wrap the tarp round one plank, and nail it to the plank.
- Place the second plank over the first one, with the tarp in between.
Complete securing of the tarp
- Now, climb to the other side of your roof, and stretch the tarp over the peak of the roof.
- Then repeat the same process as before, i.e. wrapping the tarp round the third plank/board and securing it with nails.
- Now lay the fourth plank on the third with the tarp again in between the third and fourth planks, and nail the planks together.
- Do the same for the sides of the tarp to secure it completely.
A few useful tips

If the roof was damaged seriously in heavy rains, and requires extensive repairs, you should nail the blue tarp’s each side to the roof. If the damage is not very serious, and there are no storms or heavy wind predictions, you don’t have to fasten the tarp to the roof.
Working on the roof can be quite dangerous, and if you feel dizzy or have vertigo, you can attach the four planks on solid ground, rather than doing that on your roof and just place the tarp with the planks attached over the leaky section.
Article Submitted By Community Writer